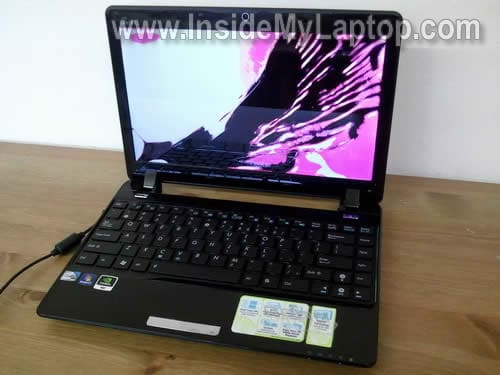
In this guide I explain how to remove and replaced damaged screen in an Asus Eee PC 1201n netbook. There is a good chance this guide fits other Asus Eee netbooks. If it works for you, please mention the model number in comments after the post.
Asus Eee PC 1201n netbook has a LED-backlit screen. This screen is not cheap and replacing it in a laptop repair shop probably doesn’t make sense because the repair may cost a few hundred dollars. But if you can find a cheap screen and replace it yourself it’s a different story.
Before you start make sure the laptop is turned off and battery removed.
STEP 1.
There are six screw seals on the front bezel. These seals hiding screws securing the bezel.
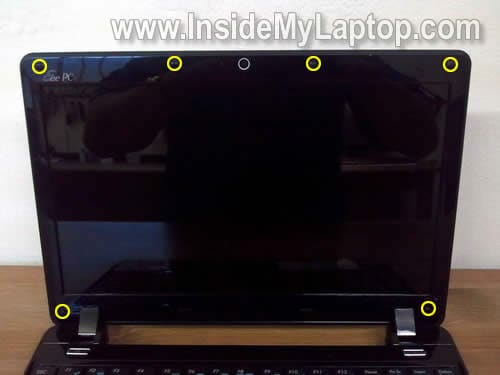
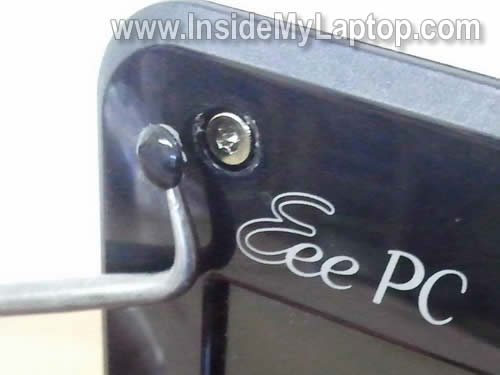
You can remove seals with a sharp object.
After all seals are removed, remove all six screws.
STEP 2.
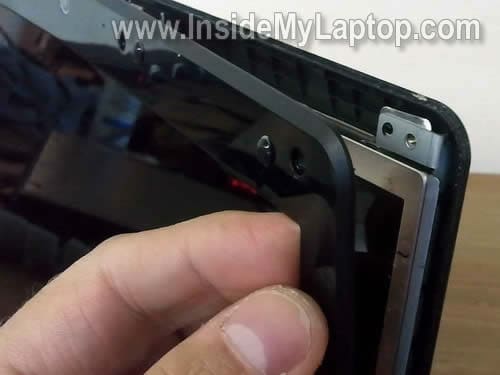
Start separating the screen bezel from the display cover with your fingers.
STEP 3.
Continue removing the bezel on the top of the display assembly.
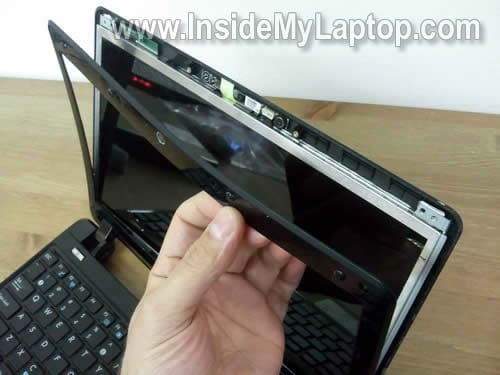
STEP 4.
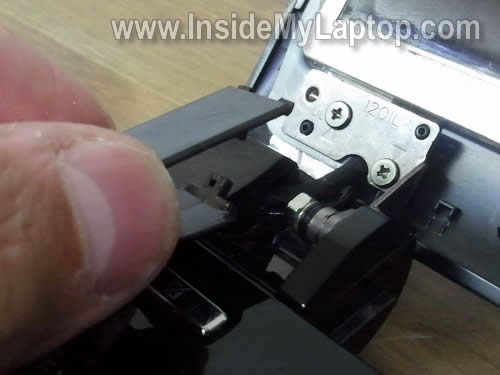
I found that in this model hinge covers are not part of the screen bezel.
You’ll have to separate the hinge cover from the bezel, lift up the hinge cover and remove the bezel as it shown on the following picture.
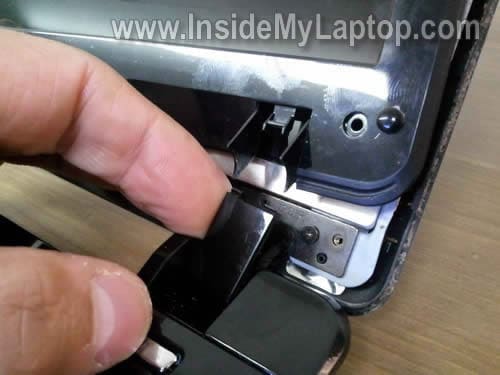
STEP 5.
Remove the screen bezel.
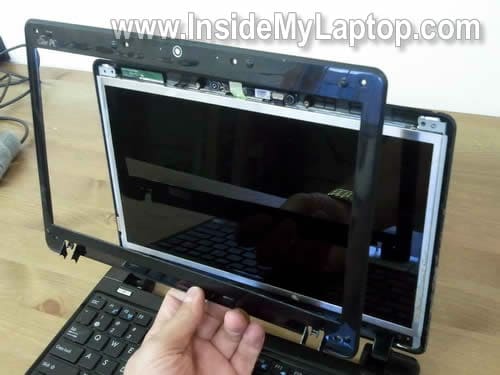
STEP 6.
After the screen bezel removed, you can remove the right hinge cover.
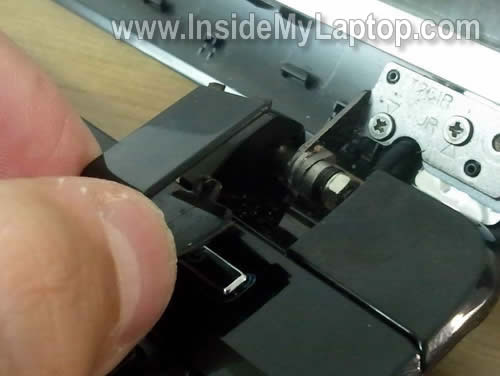
STEP 7.
Remove the left hinge cover.
STEP 8.
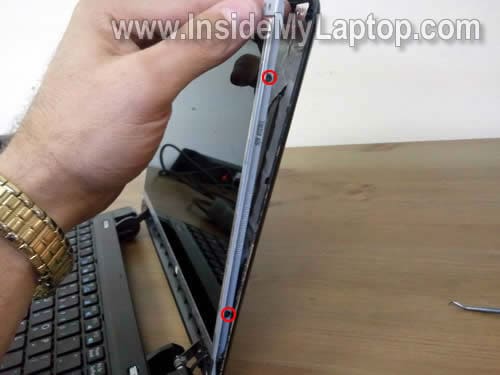
Carefully separate the screen assembly from the display cover and remove two screws on the right side.
These screws securing the screen to the mounting brackets.
STEP 9.
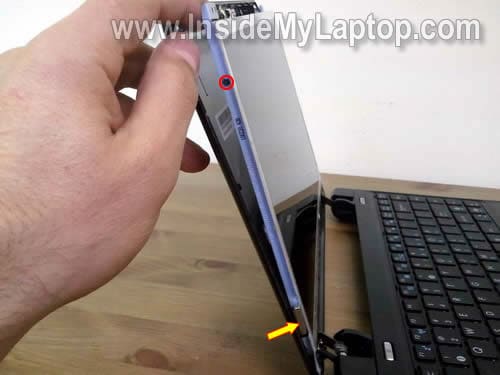
Remove two more screws on the left side of the screen assembly.
NOTE: the bottom screws located under a small magnet. Do not forget to put the magnet back in place when you assembled everything back together. This magnet activates the lid close switch when you close the display.
STEP 10.
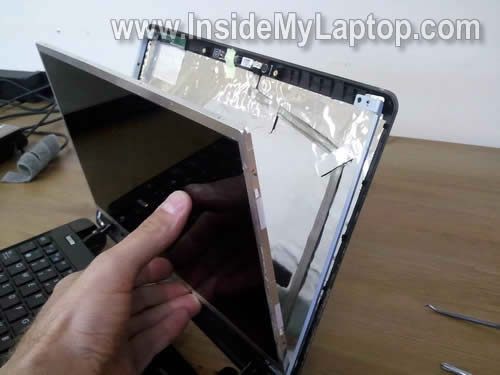
Carefully separate the laptops screen from the display cover and place it face down on the keyboard.
STEP 11.
Now you can access the video cable and disconnect it from the screen.
As I mentioned before, this is LED-backlit screen so there is no inverter board in this model.
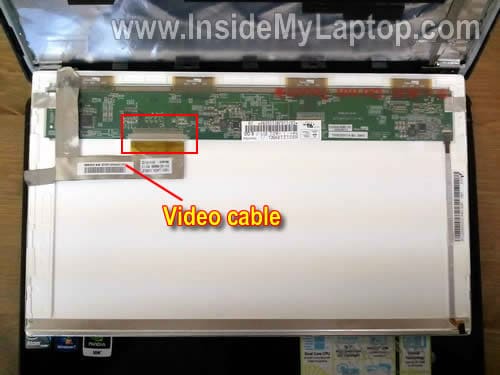
STEP 12.
Disconnect the video cable from the screen.
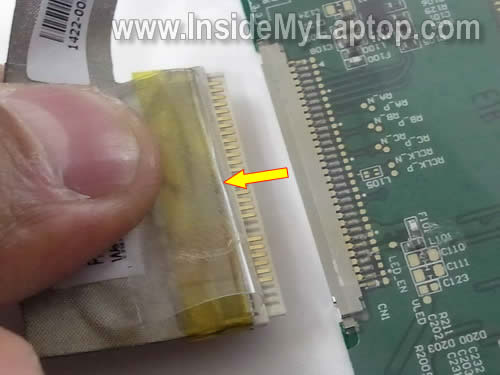
STEP 13.
The laptop screen has been removed and ready for replacement.
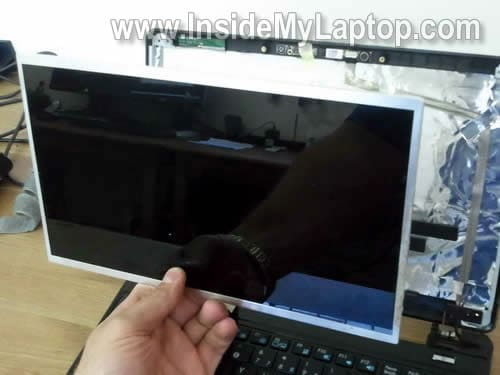
The best way to find a new replacement screen is searching by the screen model number.
In my Asus Eee PC 1201n netbook the screen has the following model number: HSD121PHW1 (made by HannStar).
You can find a new LED-backlit replacement screen here. If your screen is different, just search by the model number.
Just in case, before you purchase a new screen, I would suggest contacting the seller to make sure the new screen is compatible with your laptop.

In one of the previous posts I explained how to take apart an Asus Eee PC 1201n netbook and remove memory modules, keyboard, top cover, hard drive, cooling fan and CMOS battery.


0 Komentar:
Post a Comment
Silahkan berkomentar disini walaupun hanya "Hay". Kami akan menghargai komentar anda. Anda berkomentar saya akan berkunjung balik